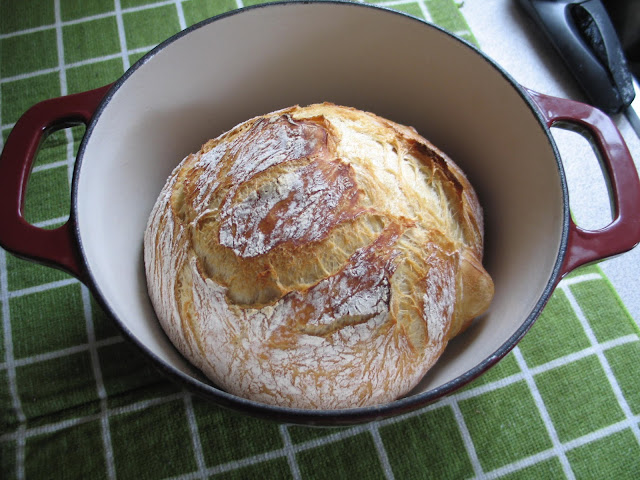
The blog post I used for my bread is here: http://www.simplysogood.com/2010/03/crusty-bread.html
The original post gives a number of variations on this bread, all of which sound really good. I wanted to try the regular version first, just to see how it worked out for me and whether I wanted to make it on a more regular basis. I really like the fact that this recipe has an overnight raising time during which I do not need to do anything with it. I also like the fact that the timing is flexible. I'm not repeating all the details of the recipe here - please use the original blog source above. I just wanted to show how mine came out.
The basics of this bread are so easy. Just combine 3 cups of flour, 1 3/4 teaspoons of salt, 1/2 teaspoon of rapid-rise yeast, and 1 1/2 cups of water in a reasonably large sized bowl. The dough will be sort of sticky and messy. I had to add a little more water to get my flour incorporated. As the source blog instructs, I covered it with plastic wrap and left it on the counter. The recommended time is 12-18 hours. I think mine went for about 20 hours, so don't worry about it if you're a bit over on the timing. What was initially a gooey blob in the bottom of the bowl rose to become this:
The bowl is 10 inches wide and about 6 inches tall, so that may help with perspective.
I had set my oven to 450 F as required, and I used my red Kitchen Aid Dutch oven for this recipe, which I put in the oven to heat for 30 minutes. Meanwhile, I scraped the dough out of the bowl onto a heavily floured wax-paper surface, formed it into a round-ish shape, and put the plastic wrap over it again. I then went away for 25 minutes while the Dutch oven was heating and the dough was considering its future.
At the 30 minute mark, I removed the hot pan from the oven, took off the lid, and dropped my dough into the pan. At this point, it looks pretty pathetic.
It produced a lovely loaf with a crusty exterior and a lovely moist interior.
This is the loaf after a couple of slices were removed - you can see that the interior is airy and not too dense. I'll definitely be making this bread again, and will try some of the variations given in the original post. The orange and cranberry sounds great, as does the lemon rosemary. I do have a bread machine and I use it from time to time, but this recipe is just as easy and makes a delightful loaf. I thoroughly recommend it!


4 comments:
I have one or few of those recipes bookmarked, too, and bought a Dutch oven specifically for them. Maybe your post will give me the kick in the behind needed to try it myself!
That looks yummy!! I'm going to try it. :-)
I wonder if you could use sourdough starter too....having it sit around all that time would make it good and sour! I'll have to give it a whirl! Nice to hear from you lovely lady. :)
We make non knead bread and pizza dough all the time too. It might almost be the same, except we use 6 cups flour, 3 cups warm water, 1 1/2 TAB salt, 1 1/2 TAB yeast. We use what we want and refridgerate the rest. It keeps very well.
Post a Comment